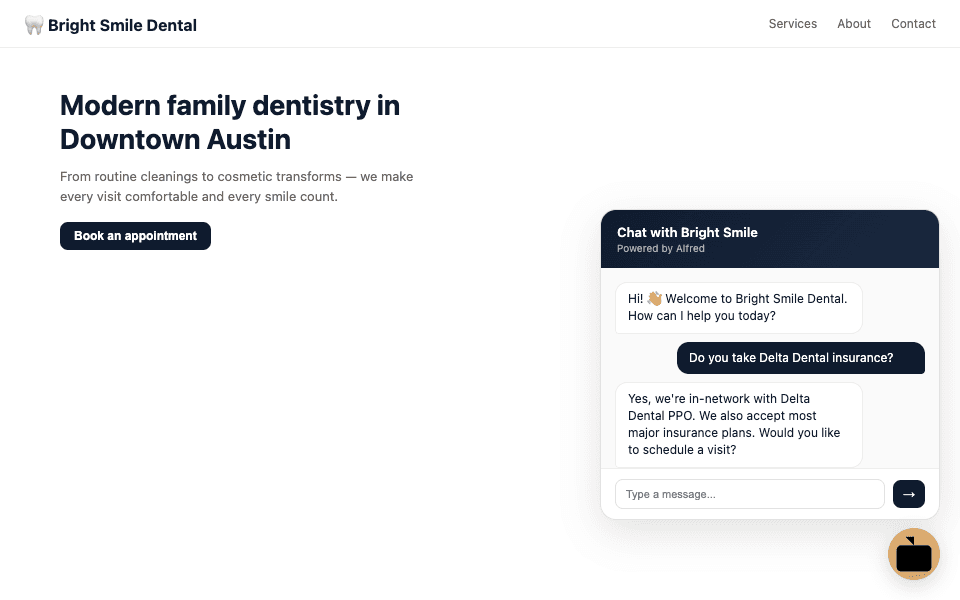
Turn on the AI reply agent (web chat + email)
Core promise — the thing the homepage sold you on. This is where it gets real.
- 1
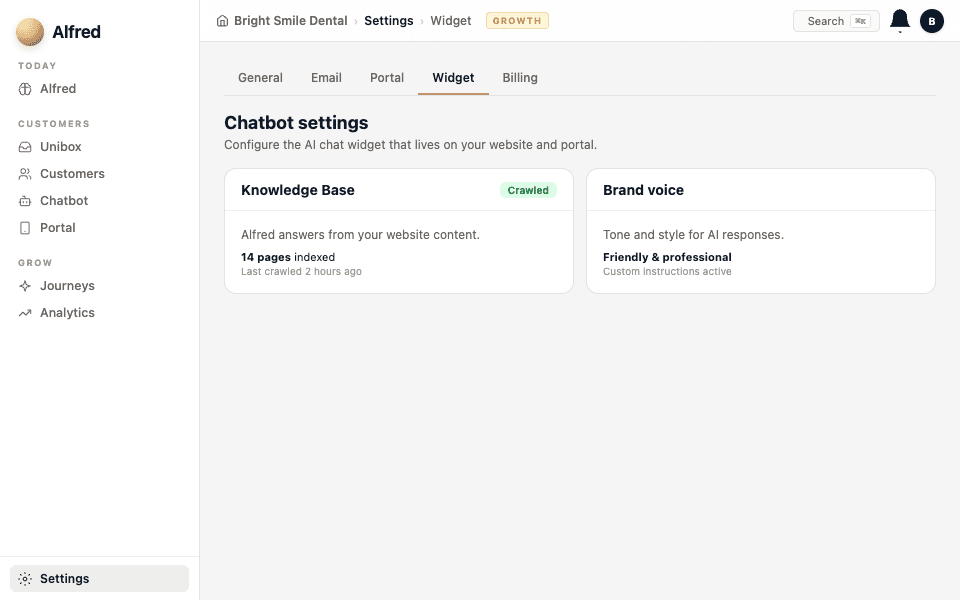
Open Widget settings
Go to Settings → Widget. This controls the AI chat widget that appears on your website and handles email replies.
- 2
Teach Alfred about your business
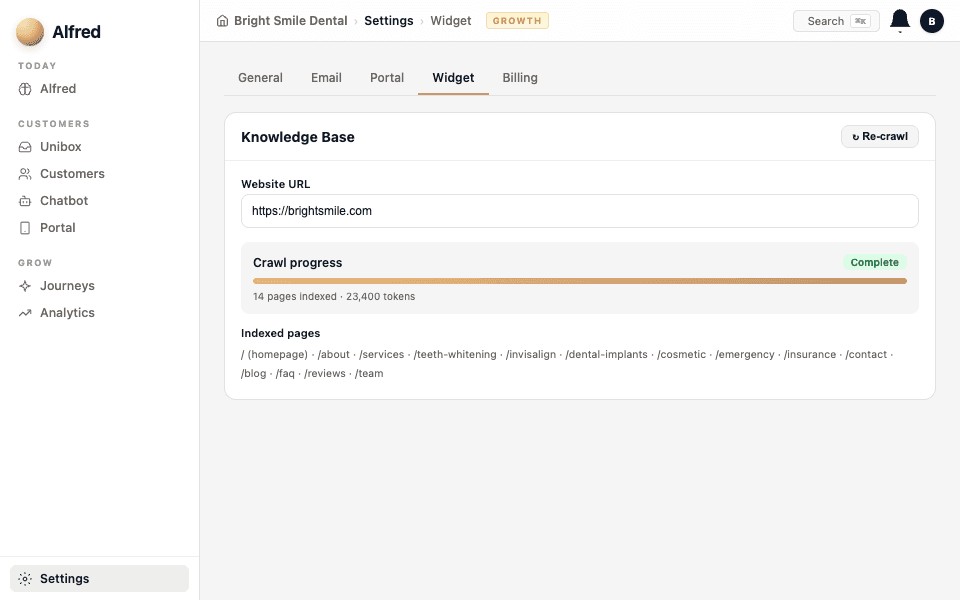
Paste your website URL and click Crawl. Alfred reads every page and builds a knowledge base so he can answer customer questions accurately, from your real content — not guesses. You can also upload PDFs or paste text directly.
The more content Alfred has, the better he answers. Add your FAQ page, services page, and any docs customers commonly ask about.
- 3
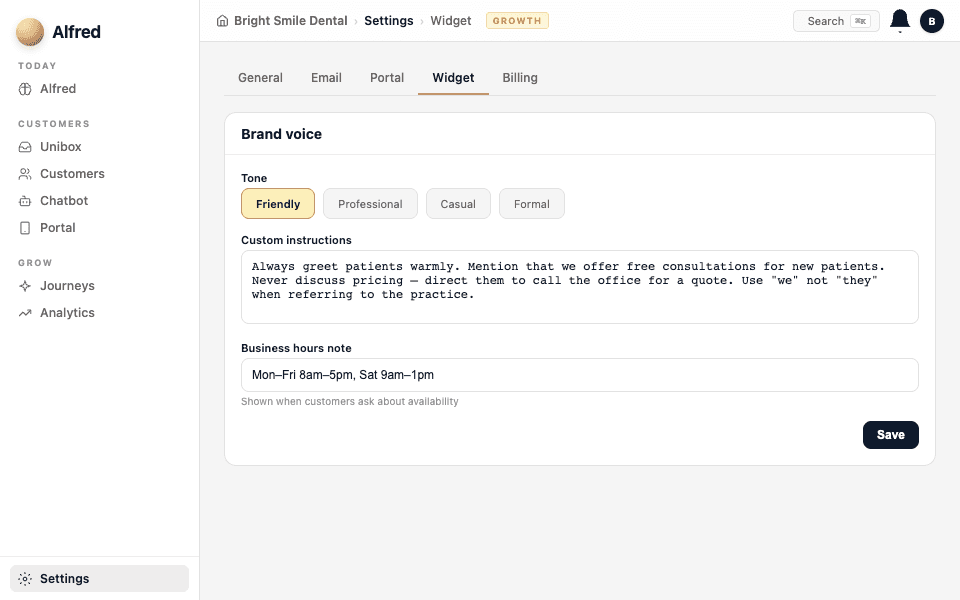
Set your brand voice
Tell Alfred how to sound. You can type a short description ("warm, friendly, professional — we're a family dental practice") or let the onboarding wizard handle it. This shapes every reply Alfred writes.
- 4
Add the widget to your site
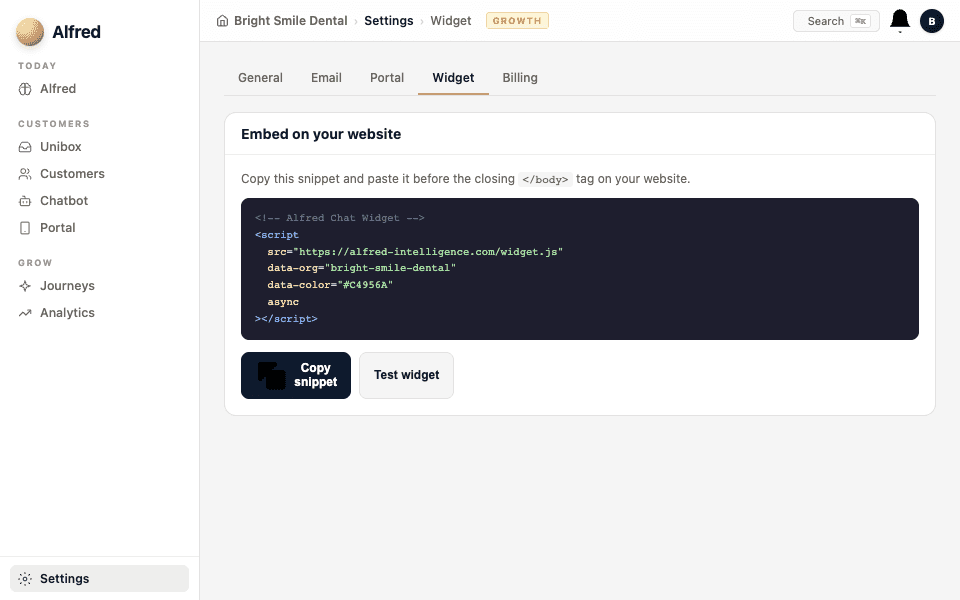
Copy the embed snippet from Widget settings and paste it into your website's HTML — usually right before the closing `