Build your branded portal + QR
The wedge — your first value moment. Something you can share in five minutes.
- 1
Open Portal settings
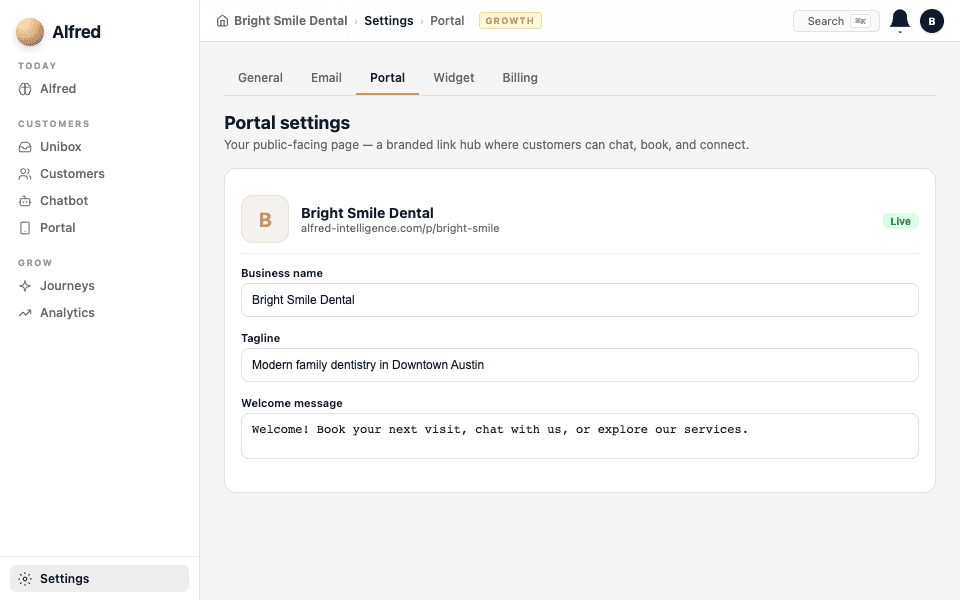
Go to Settings → Portal. This is your public-facing page — a branded link hub where customers can chat with Alfred, book appointments, leave reviews, follow your socials, and sign up for updates.
- 2
Add your business info
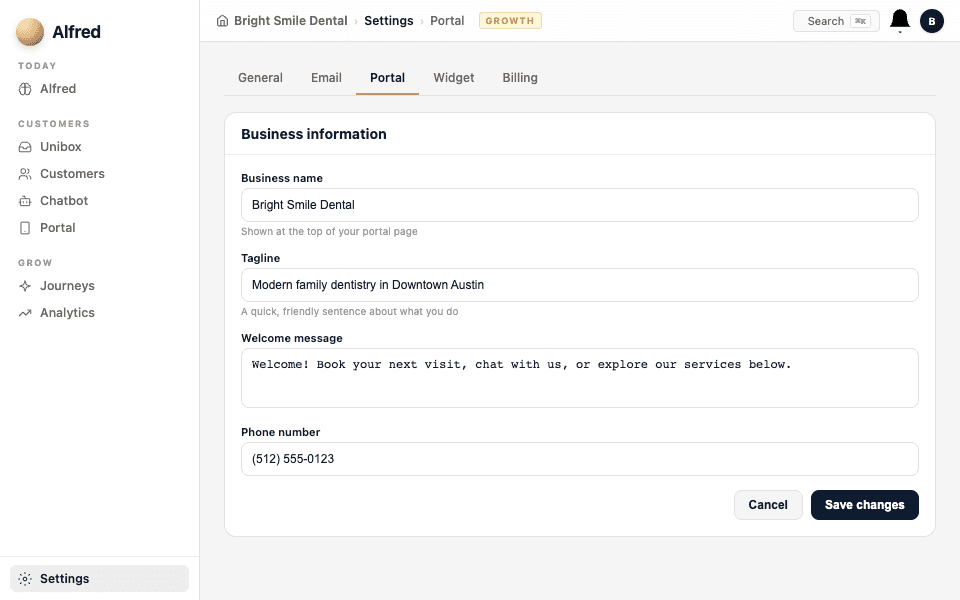
Fill in your business name, tagline, and a short welcome message. These show at the top of your portal — make the tagline a quick, friendly sentence about what you do.
- 3
Upload your logo
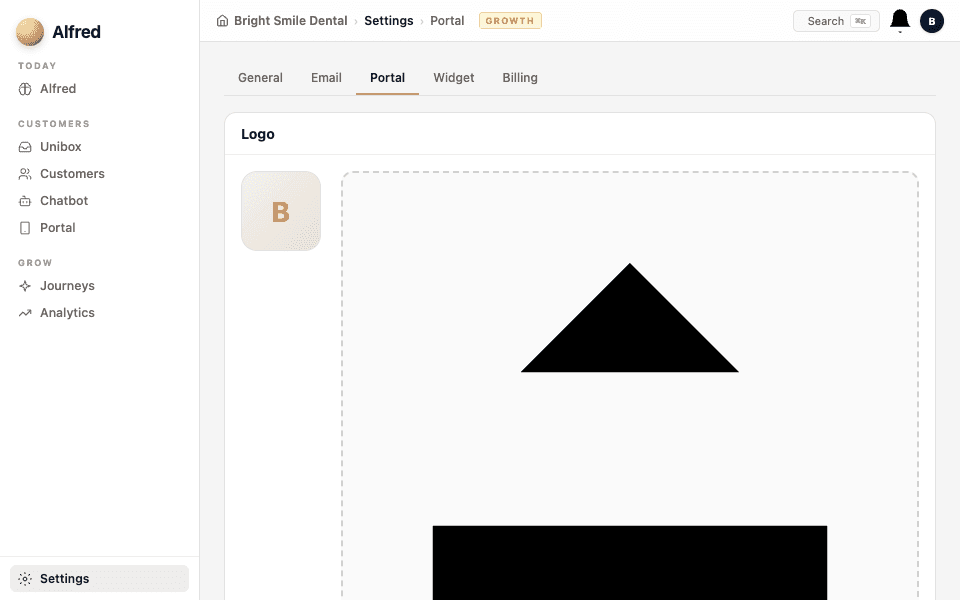
Upload a square logo (PNG or JPG). This appears on the portal hero and in your QR code. A clean, simple logo works best at small sizes.
- 4
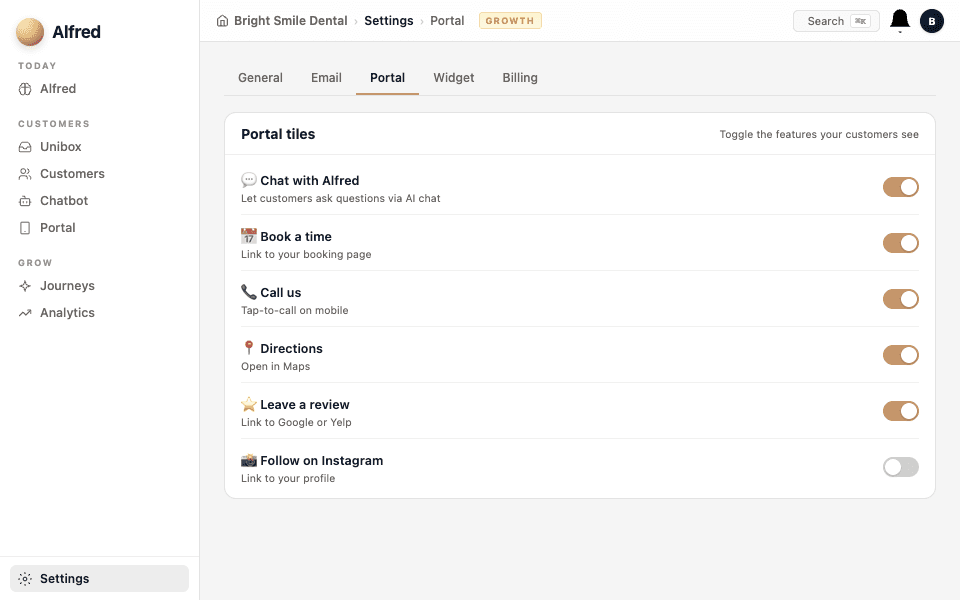
Configure your tiles
Your portal can show: chat, book a time, call, directions, leave a review, and follow links for Instagram, LinkedIn, YouTube, and more. Toggle on the ones that matter for your business and fill in the URLs.
- 5
Grab your link and QR code
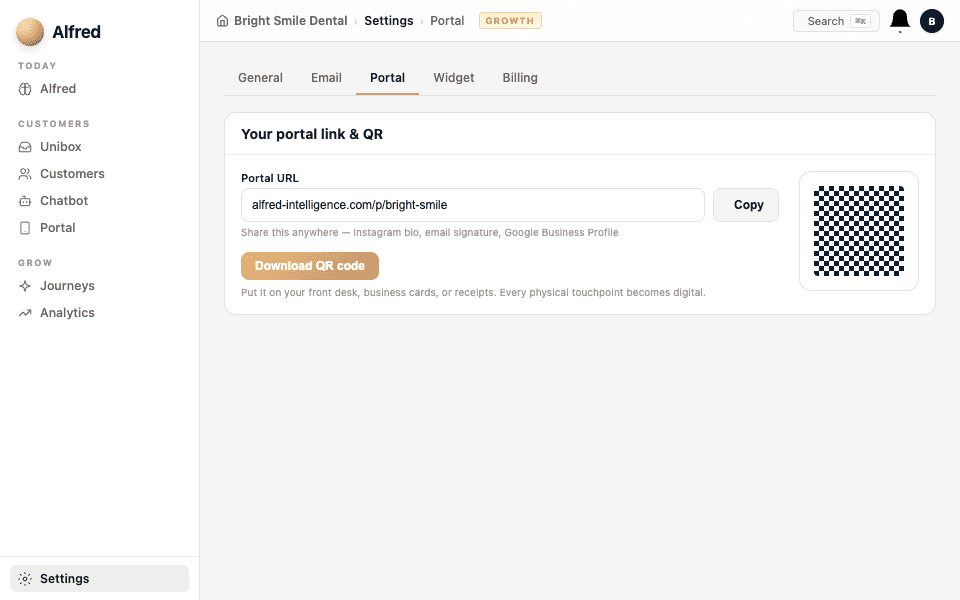
Your portal lives at a short URL you can share anywhere — your Instagram bio, Google Business Profile, email signature, or a printed QR code. Copy the link or download the QR from the top of the Portal settings page.
Put the QR code on your front desk, business cards, or receipts. It turns every physical touchpoint into a digital one.